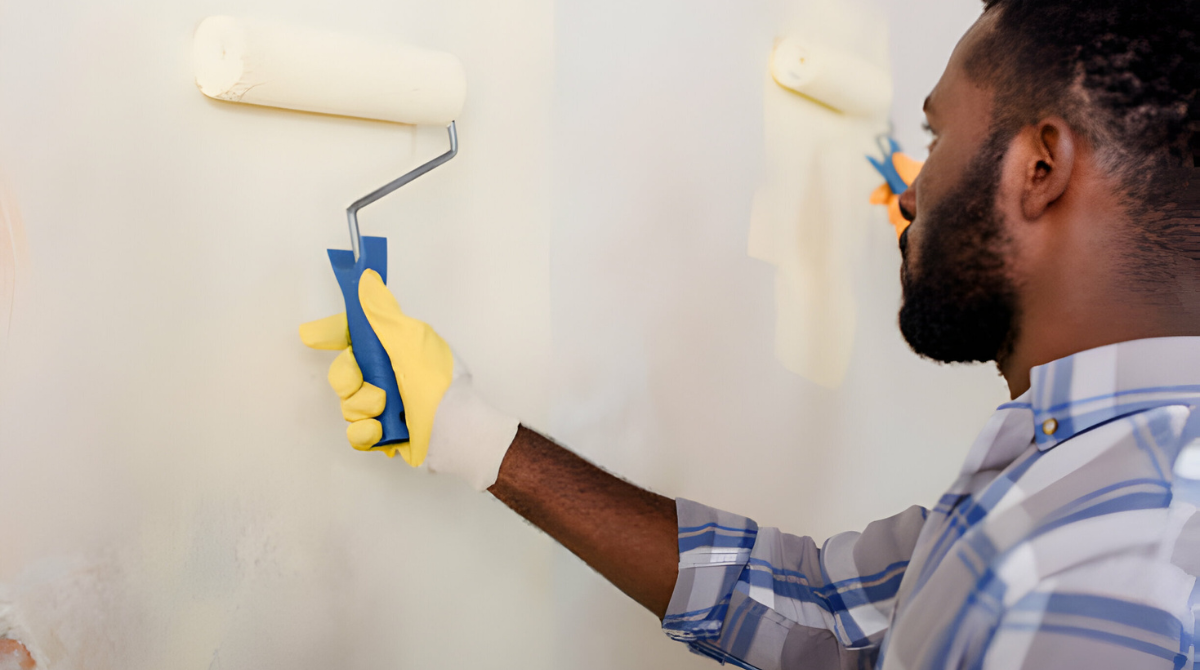
Here are some expert pointers to help you add shine to your surfaces and walls
Whether you are a novice or an expert painter, preparing your surfaces properly is essential to getting flawless results and a long-lasting paint job. In this guide, we will walk you through all the important steps and techniques to get your surfaces ready for painting successfully in Nigeria.
“Proper surface preparation is like laying a strong foundation for a building – it ensures the durability and longevity of your paint job.”
Understanding the Importance of Surface Preparation
Before beginning the step-by-step painting process, it is important to understand why surface preparation is so important to getting the desired results. Careful surface preparation is an important step that should not be skipped or rushed through because it lays the groundwork for a flawless paint job that will last a lifetime. Improved paint adhesion is one of the main benefits of surface preparation; a well-prepared surface offers a smooth, even surface on which paint can stick, creating a firm connection that lessens the likelihood of peeling or flaking. By clearing away any dirt, grease, or paint that may have built up over time, you remove possible obstacles that could compromise the performance of the newly applied paint, enabling your freshly painted surfaces to endure wear and fading as well as environmental factors.

Evaluate and Scrub the Surfaces
Prior to starting your painting project, you should evaluate the state of your surfaces and make sure they are completely clean. You can provide the perfect foundation for an impeccable paint job by carefully cleaning and checking your surfaces.
Inspecting Surfaces
Start by carefully analyzing the surfaces you wish to paint. Look out for any cracks, chips, or other defects that may need repair. Assess the overall quality of the surface and determine if any cleaning or preparation is required.
- Thorough surface preparation is vital for a successful painting project in Nigeria.
- Proper cleaning, assessing, and repairing of surfaces are essential steps.
- Sanding helps to smooth surfaces and improve paint adhesion.
- Removing wallpaper and peeling paint ensures a stable surface for painting.
- Using the right primer and selecting the appropriate paint are critical for optimal results.
Cleaning Techniques
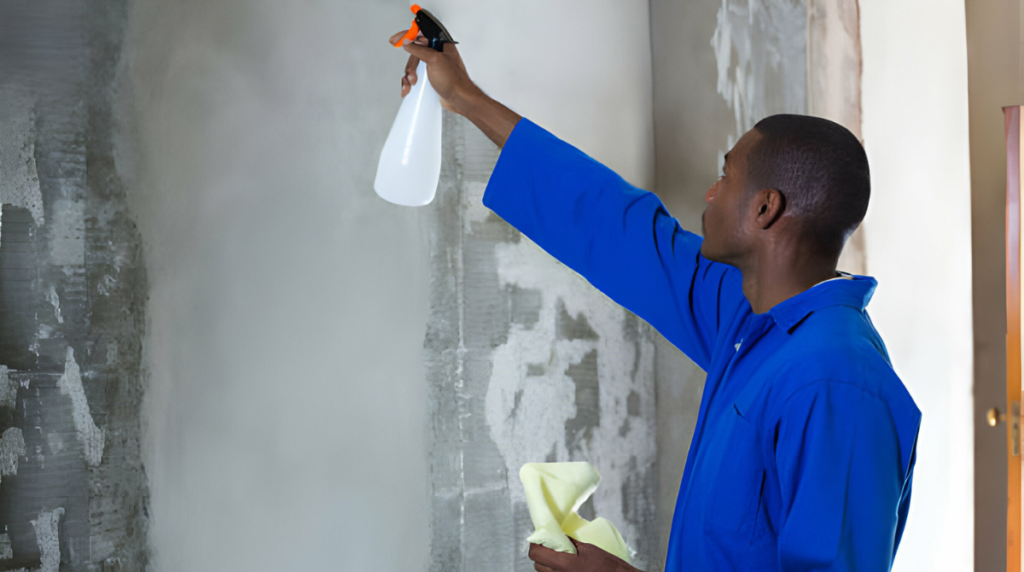
The surfaces must then be cleaned in order to get rid of any dirt, dust, oil, or stains. The following are some efficient cleaning methods that work well for various surface types:
- Interior Walls: Use a mild detergent mixed with water and a sponge or soft cloth to gently wash the walls. Rinse with clean water and allow the surfaces to dry.
- Exterior Walls: Pressure washing can be used to remove dirt and debris from exterior walls. Alternatively, you can scrub the surfaces with a mixture of water and a suitable exterior cleaner.
- Wood Surfaces: Dust the wood surface and wipe it clean with a damp cloth. For tougher stains, you can use a mild soap and water solution or a specialized wood cleaner.
- Metal Surfaces: Remove any rust or corrosion using sandpaper or a wire brush. Clean the surface with a suitable metal cleaner to ensure proper adhesion of the paint.
- Concrete Surfaces: Sweep away any loose debris or dirt. Use a solution of water and trisodium phosphate (TSP) to scrub the surface and remove any stains.
Protecting the Environment and Yourself
Wear suitable protective gear, such as gloves and goggles, to shield against any cleaning agents or debris. When cleaning surfaces, it is crucial to preserve the environment and yourself. Steer clear of harsh chemicals that could harm the ecosystem or pose health hazards. Once the surfaces are assessed and thoroughly cleaned, you are ready to move on to the next step in your painting journey. In the following sections, we will cover how to repair imperfections, sand surfaces, and select the right paint for your project.
Repairing and Patching Imperfections
In order to accomplish a perfect paint job, you must take care of any defects on your surfaces, such as holes, cracks, or dents. By properly patching and correcting these imperfections, you can guarantee a smooth and even painting surface, which will result in a finish that looks professional.
Techniques for Repairing Surfaces
When it comes to repairing surfaces, there are several techniques you can use, depending on the extent of the damage:
- Crack Repair: For small cracks in walls or ceilings, use a flexible patching compound to fill in the gaps. Apply the compound with a putty knife, ensuring it is smooth and level with the surrounding surface. For larger cracks, consider using mesh tape before applying the patching compound.
- Hole Filling: Holes in walls or wood surfaces can be filled with spackle or wood filler. Apply the filler using a putty knife, making sure to fully fill the hole and smooth out the surface. Sand the filled area once it’s dry to achieve a seamless finish.
- Dent Removal: To fix dents in metal surfaces, use a dent puller or filler. For minor dents, a suction cup dent puller can be effective, while larger dents may require the use of a filler. Follow the manufacturer’s instructions to apply the filler and achieve a smooth surface.
Filling and Caulking Gaps or Cracks
Gaps and cracks can detract from the quality and appearance of your painted surfaces. It’s crucial to address these imperfections before painting to ensure a seamless and professional finish. This section will provide you with essential techniques and products for properly filling gaps and caulking cracks.
When it comes to filling gaps, there are various options available, depending on the size and type of gap. For smaller gaps, such as hairline cracks or narrow joints, a lightweight spackling compound or acrylic caulk will do the job. These products are easy to work with and can be smoothly applied to fill the gaps. If you’re dealing with larger or deeper gaps, such as those found in baseboards or crown molding, you may need a more substantial filler, like a two-part epoxy or a wood filler. These fillers are designed to provide greater stability and durability, ensuring a long-lasting repair. When caulking cracks, it’s important to use a high-quality caulk that is specifically formulated for the type of surface you’re working with. For example, silicone caulk is ideal for caulking cracks in bathrooms or kitchens where moisture is present. On the other hand, a paintable latex caulk is suitable for sealing cracks in dry areas. When applying caulk, use a caulk gun and ensure a steady hand to create a smooth and even bead along the crack. Gently press the caulk into the crack using a caulking tool or your finger, then wipe away any excess caulk with a damp cloth for a clean finish.
Masking and Protecting Surrounding Areas
Before you embark on your painting project, it is crucial to take the necessary steps to protect and mask the surrounding areas, such as trim, windows, and furniture, to prevent accidental paint splatter. Proper masking and protection will ensure a clean and professional finish, free from unwanted paint marks.
The Importance of Masking Surfaces
Masking surfaces serves two primary purposes:
- Preventing paint splatter: Masking off the areas that you do not want to be painted will eliminate the risk of unintentionally splattering paint on them.
- Creating crisp lines: By masking and protecting adjacent surfaces, you can achieve clean and sharp paint lines, enhancing the overall aesthetic appeal of your project.
Techniques for Proper Masking and Protection
Here are some techniques to ensure proper masking and protection of surrounding areas:
- Use high-quality masking tape: Invest in high-quality masking tape that is specifically designed for painting projects. This will ensure clean and easy removal without leaving behind residue or damaging the surfaces.
- Cover surfaces with plastic sheets or drop cloths: Place plastic sheets or drop cloths over furniture, floors, or any area that needs protection from paint drips or splatter. Secure them properly to avoid any accidents during the painting process.
- Seal edges with tape: Use tape to seal the edges of the plastic sheets or drop cloths to prevent paint from seeping through. This will provide an extra layer of protection for your surfaces.
- Protect delicate or intricate areas: For delicate or intricate areas such as light fixtures or window frames, consider using masking liquid or cling film to achieve precise coverage and protection.
Remember to take your time when masking and protecting surrounding areas. A little extra effort during this stage will save you valuable time and effort in the long run, ensuring a clean and professional finish for your painting project.
In Summary
In conclusion, properly prepping your surfaces before painting is crucial for achieving a flawless and long-lasting paint job in Nigeria. By following the step-by-step guide and utilizing our expert tips and techniques, you can ensure success and satisfaction with your painting project.
Thoroughly assessing and cleaning the surfaces, repairing and patching imperfections, sanding for smoother surfaces, removing wallpaper or peeling paint, filling and caulking gaps or cracks, priming for enhanced paint adhesion, and masking and protecting surrounding areas are all essential steps in the surface preparation process.
By taking the time to properly prepare your surfaces, you create a solid foundation for the paint to adhere to, resulting in a smoother finish, improved durability, and a professional look. Whether you’re painting walls, ceilings, trim, or any other surface, investing in surface preparation will pay off in the long run.

